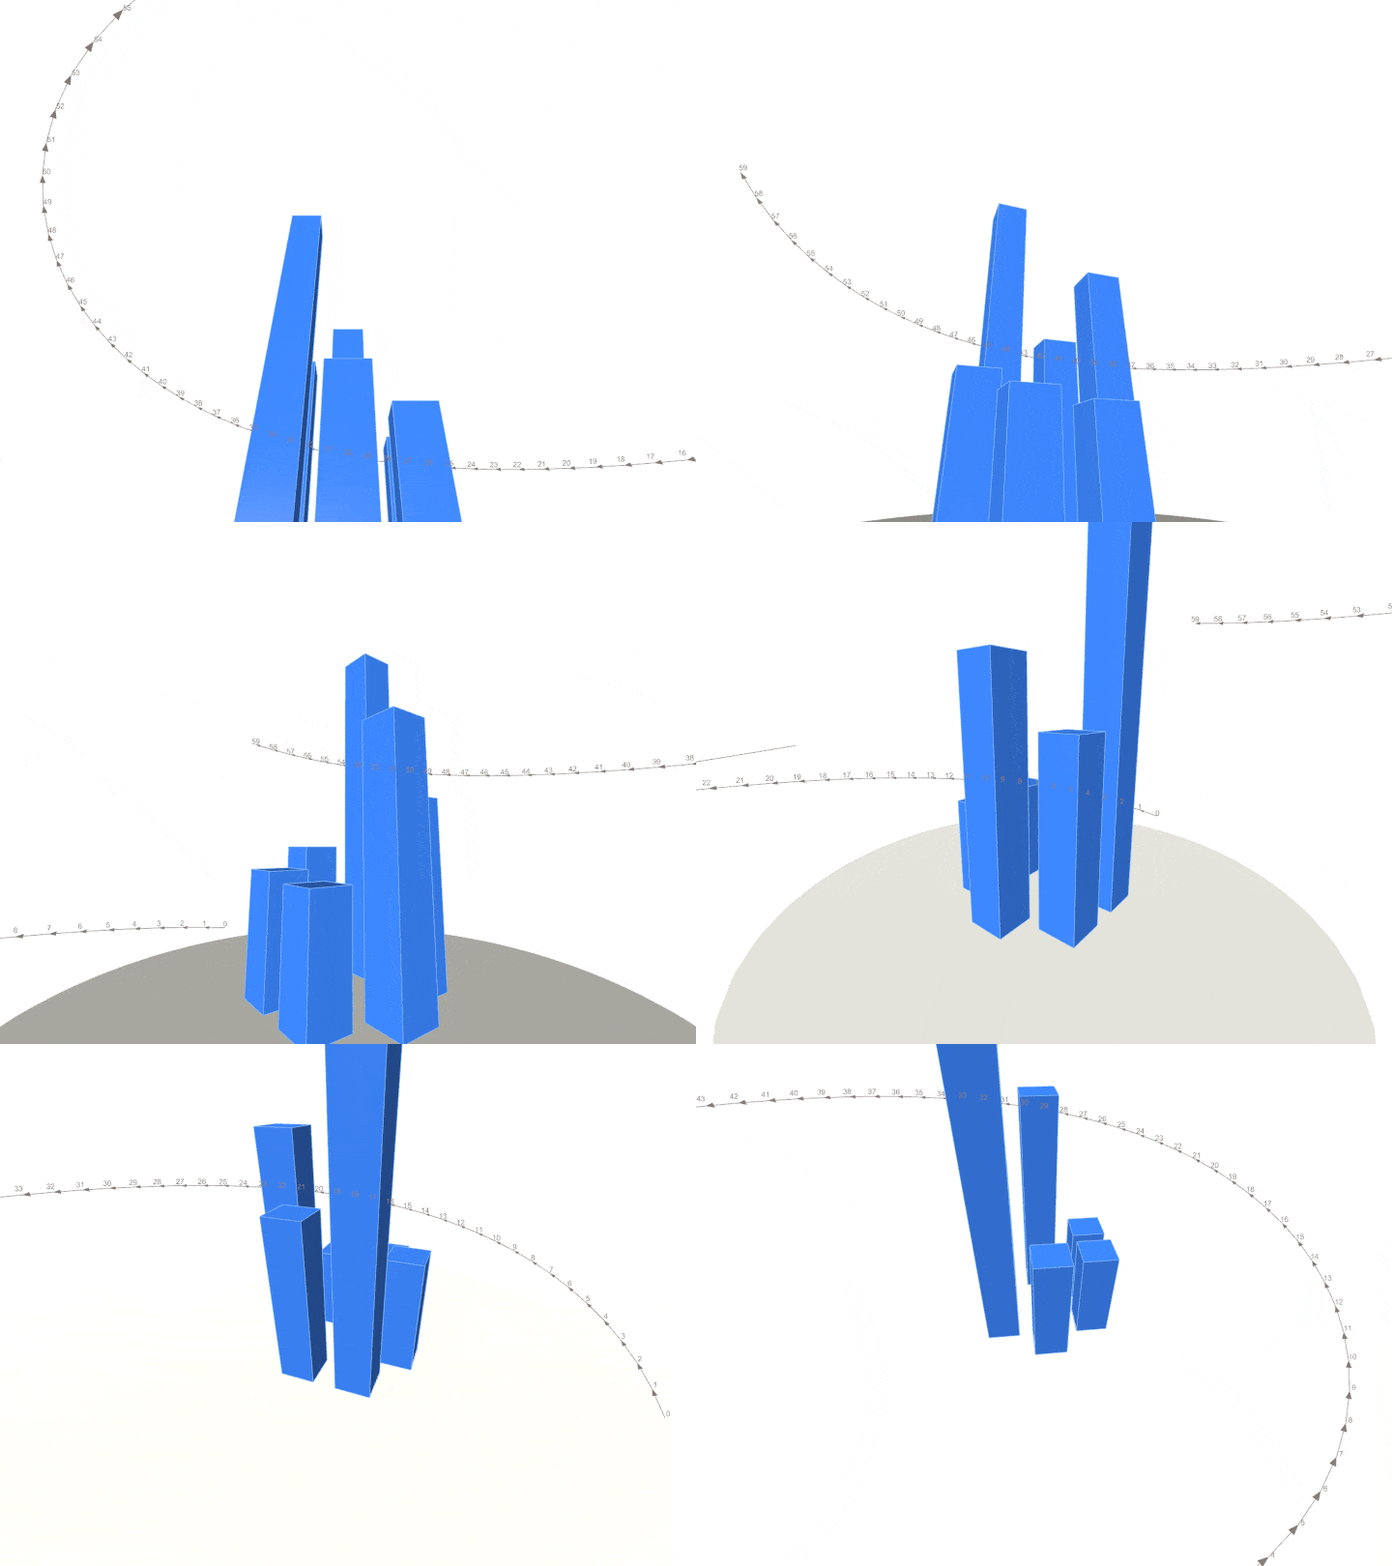
Sometimes, you may want to record the visual output of your script in a more controlled manner. While a simple screen recording can be a quick and convenient solution, adopting a programmatic approach offers greater flexibility. It allows you to easily tweak settings and re-record the same output without starting from scratch, ensuring consistent results every time.
Introduction
If you're new to Grasshopper, you'll be pleased to know that with just third-party plugins, you can effortlessly set up a dynamic camera pipeline. For more experienced users, leveraging the Rhino API offers greater flexibility and enables the creation of more complex and customized implementations.
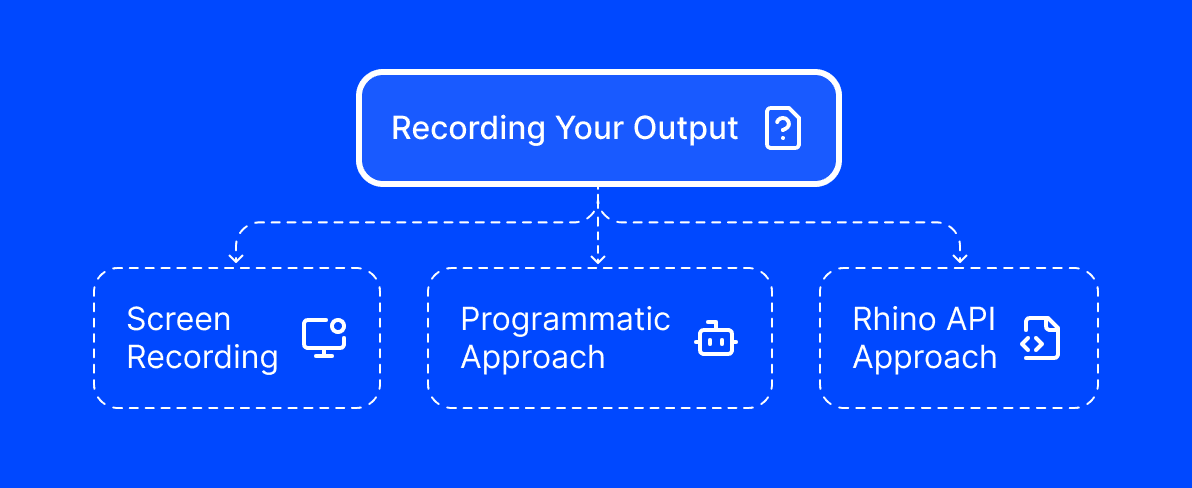
Ways to record the output
1. Screen recording
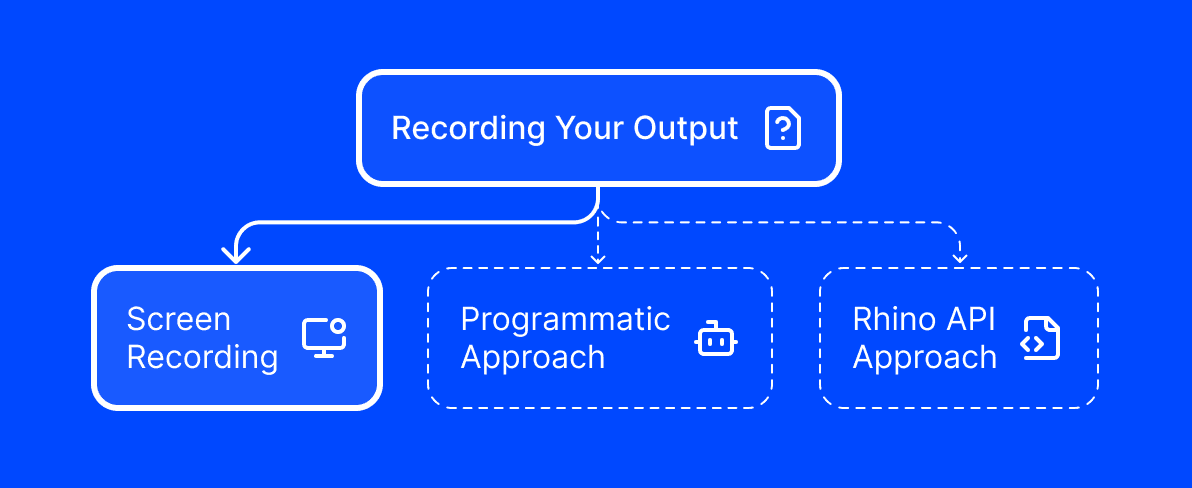
Instead of showing how to record using softwares such as OBS or the old PowerPoint screen recording, I will tell you why this is not a good approach, unless the exports require
2. Grasshopper camera

3. Rhinoceros API
public class Script_Instance : GH_ScriptInstance
{
  private void RunScript(Point3d camTarget, Point3d camPosition, ref object A)
  {
    RhinoDocument.Views.ActiveView.ActiveViewport.SetCameraLocations(camTarget, camPosition);
  }
}
Exporting the shots
To export the animations you can just use the default export animation pipeline. We are gonna take advantage of it with many occasions due to its convenience and ease of use. The 'Animate controls' window is part of the Grasshopper slider batteries. You need to place a slider on the canvas and 'right click' then select the 'Animate...' option. You will get the following:
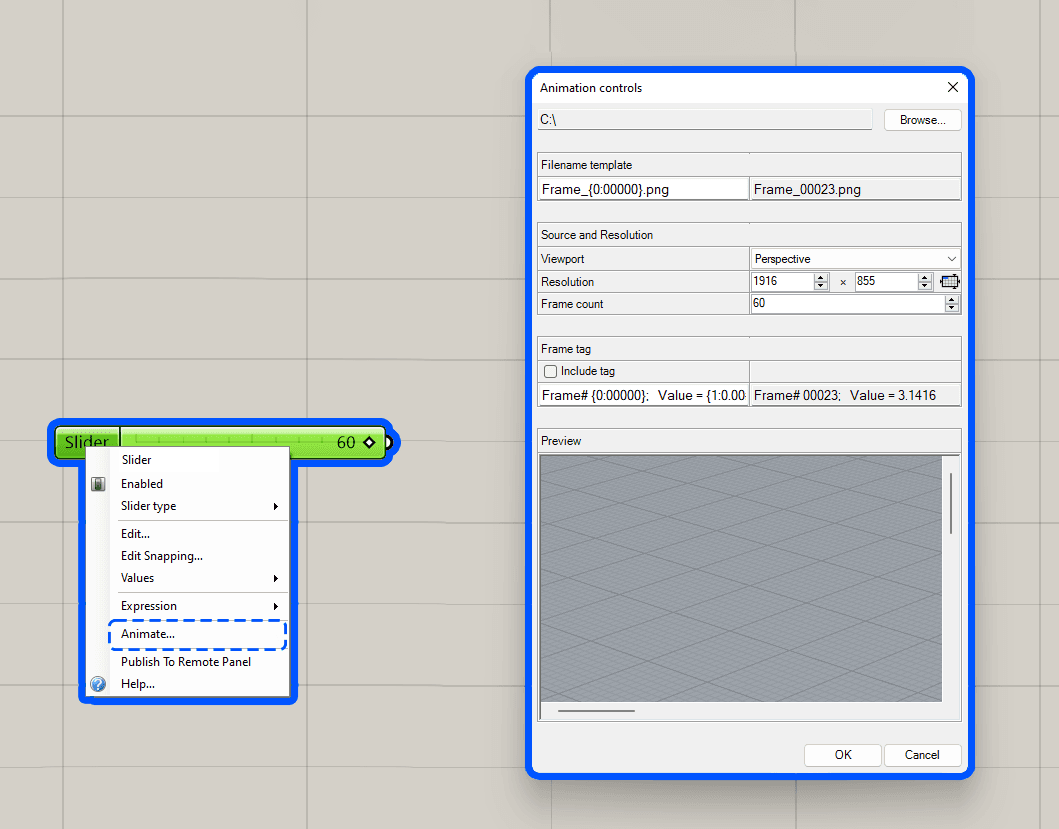
Now the panel offers you multiple options for optimising your exports. You can only export image frames (ie. png, jpg), not videos (i.e. mp4, avec)! After you get the image exports you will need to post process them using a video editing software such as Premier Pro or Davinci Resolve.


Comments
3Mr Paul 9 months ago
We test with a new comment. New text and comment
Paul 10 months ago
Test comment 2
Paul 10 months ago
Test comment